Getting Started

Try out the API Portal in the following simple steps.


Introduction


This page contains the instructions to run a demo portal on a your local docker host.

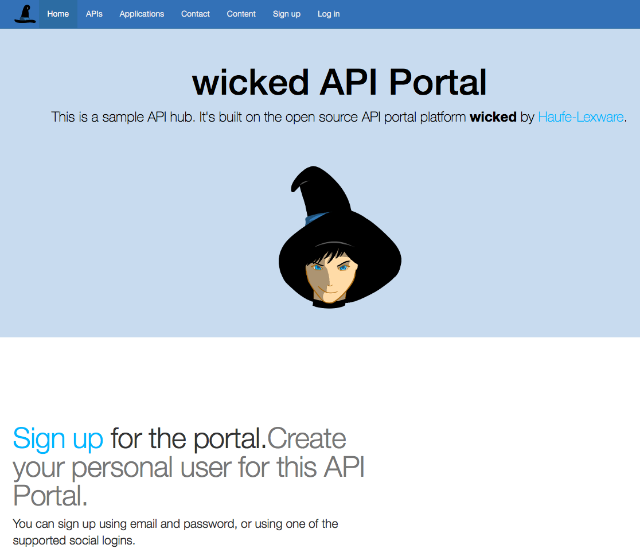
This introduction to the API Portal we provide will guide you to run an API Portal like the one we keep for demo purposes at wicked-demo.haufe.io.

The wicked API Portal is designed to run within docker.

The following steps assume that you are familiar in using the command line, and that you have a working node.js installation, and a working Docker installation. The guide works on macOS, Windows and on Linux.


Step 1: Prerequisites (Docker, node.js)

The only prerequisites for this getting started guide is that you have access to a the docker command line, a Docker host and a node.js installation. If you haven't already installed Docker, go ahead and do that first. It will work on Windows, macOS and Linux machines, best using Docker CE 18.09 or later.

Installation node.js guidelines can be found at nodejs.org. The node.js installation is only used for the wicked command line in this guide, and (almost) any version will work.

Get Docker »  Get node.js »

Step 2: Install the wicked command line

The easiest way to get started with wicked.haufe.io is using the command line, which was introduced for version 1.0.0-rc.1.

$ npm install -g wicked-cli

Make sure that Docker is allowed to mount local directories into running containers. This is done in the Docker for Mac/Windows "Shares" configuration. On macOS, this should be straightforward, on Windows you may encounter some issues with Work/School accounts (see this link for a possible help).

Now retrieve the list of versions of wicked:

$ wicked tags list

Select the latest version and set it for use with the command line:

$ wicked tags set <tag>


Step 3: Create a default configuration


Now it's time to create a default configuration repository for wicked. Using the terminal/command line, create an empty directory. This directory has to be mountable into docker.

Windows:

C:\TEMP> md wicked
C:\TEMP> cd wicked
C:\TEMP> wicked kickstart --new .

macOS/Linux:

$ mkdir wicked
$ cd wicked
$ wicked kickstart --new .

You can immediately close the "wicked Kickstarter" again by pressing Ctrl-C. It will have created a configuration repository in the current . directory.


Step 4: Start up Postgres and Wicked

We are now set to deploy wicked locally using the command line. To work correctly, wicked (and Kong) need a Postgres instance to persist its data to. The wicked command line can help running one on your local machine:

$ wicked postgres start

Once Postgres is up and running, we can also start the API Portal:

$ wicked box start .

The command will now pull the wicked image and start the API Portal with the configuration in the current directory (this is what the . argument means). Allow around 5-15 seconds, depending on your machine, for the API Portal to start at http://localhost:3000.


Step 5: Log in

Navigate to your API Portal at http://localhost:3000 and start playing around. The default configuration has a preconfigured admin user with the following credentials:

  • User email: admin@foo.com
  • Password: wicked


Screenshot

Read more in the documentation, e.g. on how to use the sample portal.

To stop the local API Portal, issue the following commands:

$ wicked box stop
$ wicked postgres stop

Back to top

© 2016-2018 Haufe-Lexware GmbH & Co. KG, www.haufe-lexware.com, www.haufe.de, www.lexware.de, www.haufe-akademie.de